
JPG to PNG: The Only Guide You’ll Need for Transparent Images: If you’ve ever tried to place a logo on a colored background and ended up with an ugly white box around it, you’ve run into the exact problem this guide solves. That white box is almost always a JPG format issue — and converting to PNG is the fix.
Most people use JPG and PNG interchangeably without knowing there’s a real technical difference between them, one that decides whether your image blends in cleanly or looks broken. This guide breaks down exactly when and why you need PNG instead of JPG, and how to convert between them properly.
JPG vs PNG: What’s Actually Different
Both formats store images, but they were built for completely different purposes.
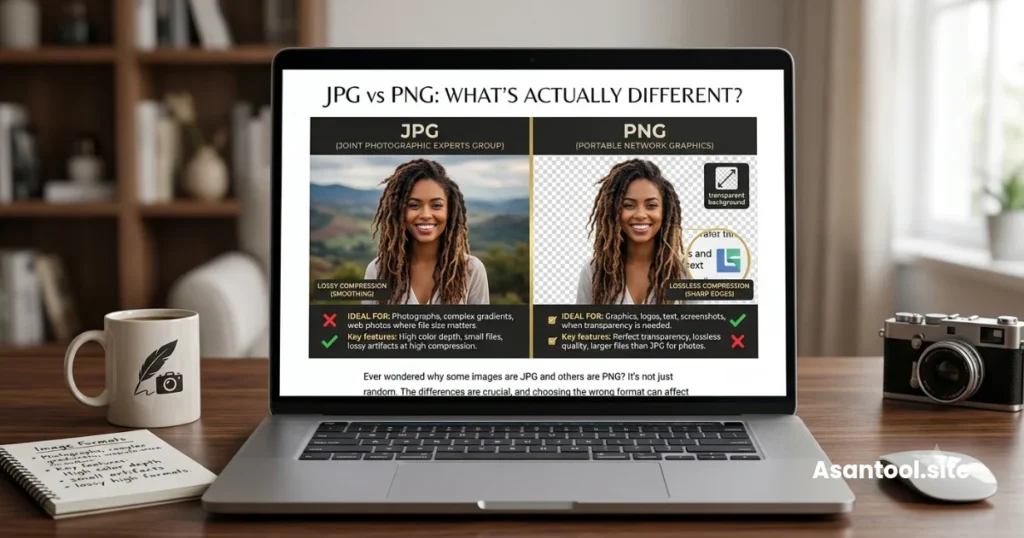
- JPG (JPEG) was designed for photographs. It uses lossy compression to keep file sizes small, which works great for images with lots of color detail like sunsets, portraits, or landscapes. The tradeoff is that JPG has no support for transparency — every pixel must have a solid color, even the background.
- PNG was designed for graphics, not photos. It supports full transparency, meaning parts of the image can be see-through, and it uses lossless compression, so no visual detail is ever thrown away no matter how many times you save it.
This single difference — transparency support — is the reason PNG exists as a separate format at all, and it’s almost always the reason someone needs to convert a JPG into one.
Why Transparency Actually Matters
A transparent background isn’t just a nice-to-have. It solves specific, practical problems:
- Logos placed on colored website headers, business cards, or merchandise need to blend in without a visible box around them
- Product images for online stores look far more professional floating on a clean white or branded background instead of sitting inside a rectangle
- Icons and UI elements used in apps or presentations need to sit cleanly over other content
- Overlays and watermarks placed on top of videos or other images need the areas around them to stay invisible
- Screenshots with text stay perfectly sharp in PNG, since JPG compression tends to blur fine text edges over time
If your JPG image was never designed with a transparent background to begin with (most photos aren’t), simply converting the file extension won’t magically add transparency — that part usually needs a background removal step first, which is covered below.
Related Post: How to Compress an Image Without Losing Quality
Two Different Situations, Two Different Fixes
This is where a lot of guides get it wrong by treating “JPG to PNG” as one single action. In reality, there are two separate needs:
1. You just need a PNG file (no transparency required)
This is the simple case — you want lossless quality, or a platform specifically requires a PNG upload. A direct JPG to PNG conversion handles this instantly. The image will look identical, just saved in a different, non-compressed format.
2. You need the background to actually disappear
If your JPG has a plain background (like a white or solid-color backdrop behind a logo or product), that background needs to be removed as part of the process — a straight format conversion alone won’t make anything transparent, since a JPG never had transparency data to begin with.
How to Convert JPG to PNG the Right Way

- Start with the highest quality JPG you have. Converting from an already-compressed or low-resolution JPG won’t recover detail that’s already lost.
- Decide if you need transparency or just the PNG format. This determines whether a simple conversion is enough, or whether background removal is needed first.
- Convert the file. A good converter preserves every pixel exactly as it was in the original, since PNG doesn’t lose quality during conversion the way JPG does.
- Check the file size. PNG files are naturally larger than JPG, especially for photos — this is expected and is the tradeoff for lossless quality and transparency support.
- Rename and organize the file clearly, especially if you’re keeping both the JPG and PNG versions for different uses.
Convert JPG to PNG in Seconds
No design software needed for a straightforward conversion. AsanTool’s JPG to PNG converter does the entire job in your browser:
- Upload your JPG file
- The tool converts it to lossless PNG format automatically
- Download the result immediately
- Your uploaded file is never stored — it’s automatically deleted within the hour
It works the same on a phone or a laptop, so you can convert a logo or screenshot on the spot without needing a computer nearby.
Frequently Asked Questions
Does converting JPG to PNG add transparency automatically?
No. A format conversion only changes how the file is stored — it doesn’t remove or identify a background. Transparency requires a separate background removal step if your original JPG didn’t already have one.
Will my image lose quality when converting from JPG to PNG?
No new quality is lost during the conversion itself. However, if the original JPG was already compressed, that earlier quality loss carries over — PNG can’t restore detail that was removed before you converted it.
Why is my PNG file so much bigger than the JPG?
PNG uses lossless compression, meaning it keeps every bit of image data intact, unlike JPG, which discards data to shrink the file. Larger size is the normal, expected tradeoff for higher fidelity and transparency support.
Should I always use PNG instead of JPG?
No. For regular photos without transparency needs, JPG is usually the better choice since it keeps file sizes much smaller with no visible quality difference. PNG is best reserved for logos, graphics, screenshots, and anything needing a transparent background.
Need to convert a JPG to PNG right now? Try the free JPG to PNG converter — no account, no software, and your file is never kept on our servers.