
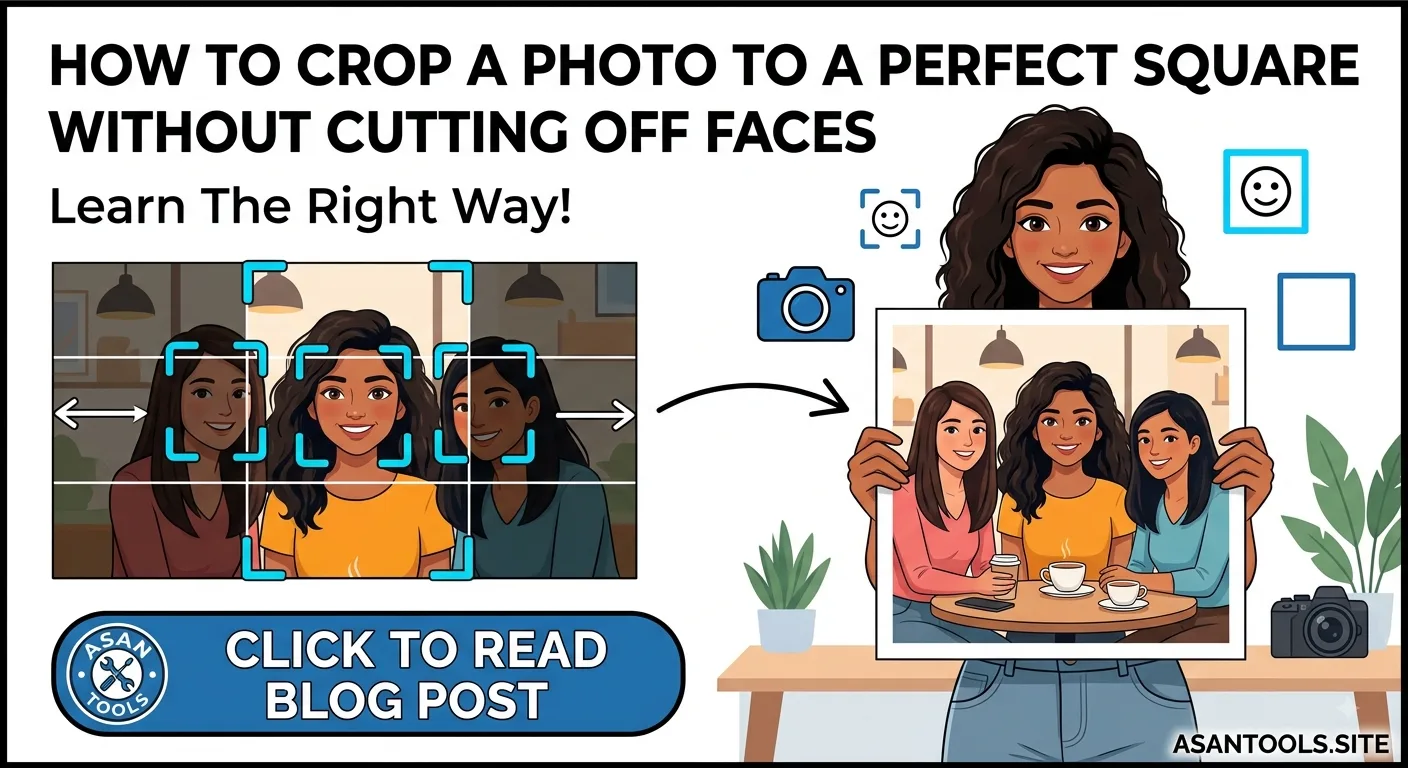
You upload a great photo for your profile picture, and the platform crops it automatically — right through someone’s forehead, or half a face gets pushed out of frame entirely. Square crops cause this constantly, because almost every photo you take comes out of the camera as a rectangle (4:3, 3:2, or 16:9), while nearly every platform that displays profile pictures, grid posts, or thumbnails expects a perfect 1:1 square. Something has to give, and if you’re not the one controlling what gets cut, the platform decides for you — usually badly.
This guide covers exactly why this keeps happening, the actual math behind why faces get cut, and how to crop a photo to a clean square without losing what matters.
Why Square Crops Cut Off Faces So Often
A rectangular photo and a square photo don’t share the same shape, which means fitting one into the other always requires either cutting pixels away or adding extra space. Most platforms default to an automatic center crop — they take the exact middle of your rectangular photo and trim the sides (or top and bottom) to force a square shape.
The problem is that “the exact center” of a photo and “where the face actually is” are frequently two different spots. A portrait shot with the subject slightly off-center, a group photo with people spread across the frame, or a photo where the subject is positioned in the upper third (a common, intentional composition choice) — all of these get mangled by a blind center crop, since the algorithm has no idea where a face actually sits in the frame.
The Hidden Trap: Circle Masks
Here’s a detail most guides skip entirely. A huge number of platforms — WhatsApp, Instagram, Discord, X, LinkedIn — don’t just display your square photo as a square. They cut a circle out of that square for the actual profile picture. That circle touches the middle of each edge and misses the four corners entirely.
This matters because a square crop that looks perfectly framed can still lose the top of someone’s head or the edge of their shoulder once the circular mask is applied on top of it. If you’re cropping specifically for a profile picture, framing for the square isn’t enough — you need to leave a visible safety margin around the face so the circle crop doesn’t clip it.
Two Fundamentally Different Approaches
Before cropping anything, it helps to understand there are really two different solutions to “make this photo square,” and they trade off against each other:
1. Crop (remove pixels). You select a 1:1 region of the original photo and discard everything outside it. This gives a tight, zoomed-in result, but anything outside your selection is permanently gone.
2. Pad or extend (keep every pixel). Instead of cutting anything away, the photo is placed onto a square canvas with extra space added around it — filled with a blurred version of the image, a solid color, or a matching background. Nothing from the original photo is lost, but the final image includes visible padding instead of a tight, edge-to-edge square.
If the photo has multiple people, important background detail, or you’re simply unsure whether cropping will cut something important, padding is the safer default. Cropping is best reserved for photos where the subject is already reasonably centered and there’s nothing meaningful near the edges to lose.
How to Crop for a Square Without Cutting Off a Face
- Start with the highest-resolution version of the photo you have. Cropping reduces the usable pixel area, and starting from a low-resolution image can leave you with a blurry result after the crop.
- Identify where the face (or faces) actually sit in the frame — not just visually, but relative to the photo’s true center, since that’s what an automatic crop will use as its anchor point.
- Manually position the square crop box yourself rather than accepting an automatic center crop, especially if the subject isn’t dead-center in the original photo.
- Leave breathing room above the head and around the sides — a common mistake is framing too tightly, which then gets clipped further once a platform applies its own circle mask on top.
- Check all four corners before exporting, since content sitting close to a corner is exactly what gets lost if the image is later displayed as a circle.
- Export at a size appropriate for where it’s going — 1080×1080 covers most Instagram-style square posts, while 512×512 or 1024×1024 is typically enough for profile picture use.
Group Photos Need a Different Approach
Cropping a group photo to a square is where automatic tools fail most often, since there’s no single “center” that captures everyone. If a square crop from a group photo is unavoidable, padding is usually the better choice over cropping — a tight square crop of a group shot almost always cuts someone off at the edge, while padding keeps the entire group intact with extra space added around them instead.
Read More:Why Your Uploaded Photo Keeps Rotating Sideways (And How to Fix It)
Common Mistakes to Avoid
- Trusting an automatic “smart crop” blindly without previewing the result — automatic face-detection crops are helpful but not perfect, especially with side-angle faces or partially obscured subjects
- Framing right up to the edge of the square, leaving no margin for platforms that apply a circular mask on top
- Cropping instead of padding for group photos or photos where the subject isn’t already centered
- Exporting at a low resolution and then having the platform stretch it back up, which introduces blurriness that wasn’t in the original photo
- Overwriting the original file, losing the ability to re-crop differently later if the platform’s display requirements change
Crop to Square in Seconds
AsanTool’s Image Resizer lets you control the final dimensions of your photo directly in your browser, giving you the framing control needed to keep faces centered and clear of the edges:
- Upload your photo
- Set your target square dimensions
- Position and export without losing control over what stays in frame
- Download instantly — no software, no account, and your file is never stored on our servers
Conclusion
A face getting cut off in a square crop almost always comes down to one thing — an automatic center crop that has no actual understanding of where the subject is in the photo. Taking a few extra seconds to position the crop yourself, leave margin for circular display masks, and choose padding over cropping for group shots turns a frustrating, unpredictable result into a clean, intentional one every time.
Need to crop a photo to a perfect square right now? Try the free Image Resizer — no account, no software, and your photo is never kept on our servers.
1 thought on “How to Crop a Photo to a Perfect Square Without Cutting Off Faces”